Monday, June 30, 2014

Review: L'oreal Mat Magique All-In-One Matte Transforming Powder

A rather exciting review post. I've been wanting to write about the L'oreal Mat Magique All-In-One Matte Transforming Powder because the first few applications were amazing, but I decided to test it out for a couple more weeks before I give you guys my feedback on this! 

L'oreal did a great job in disseminating information about their latest product online. They approached popular lifestyle bloggers and I got to know of this amazing product from these blogs. Good marketing plan, L'oreal! It's quite obvious that their plan worked hugely to their advantage because I had to visit 3 different Watsons before I could purchase the L'oreal Mat Magique All-In-One Matte Transforming Powder in my shade. 

My shade is N2 Nude Vanilla and this retails for S$30.90. Fortunately, I got this during a sale, so I paid less than S$25 for mine. 

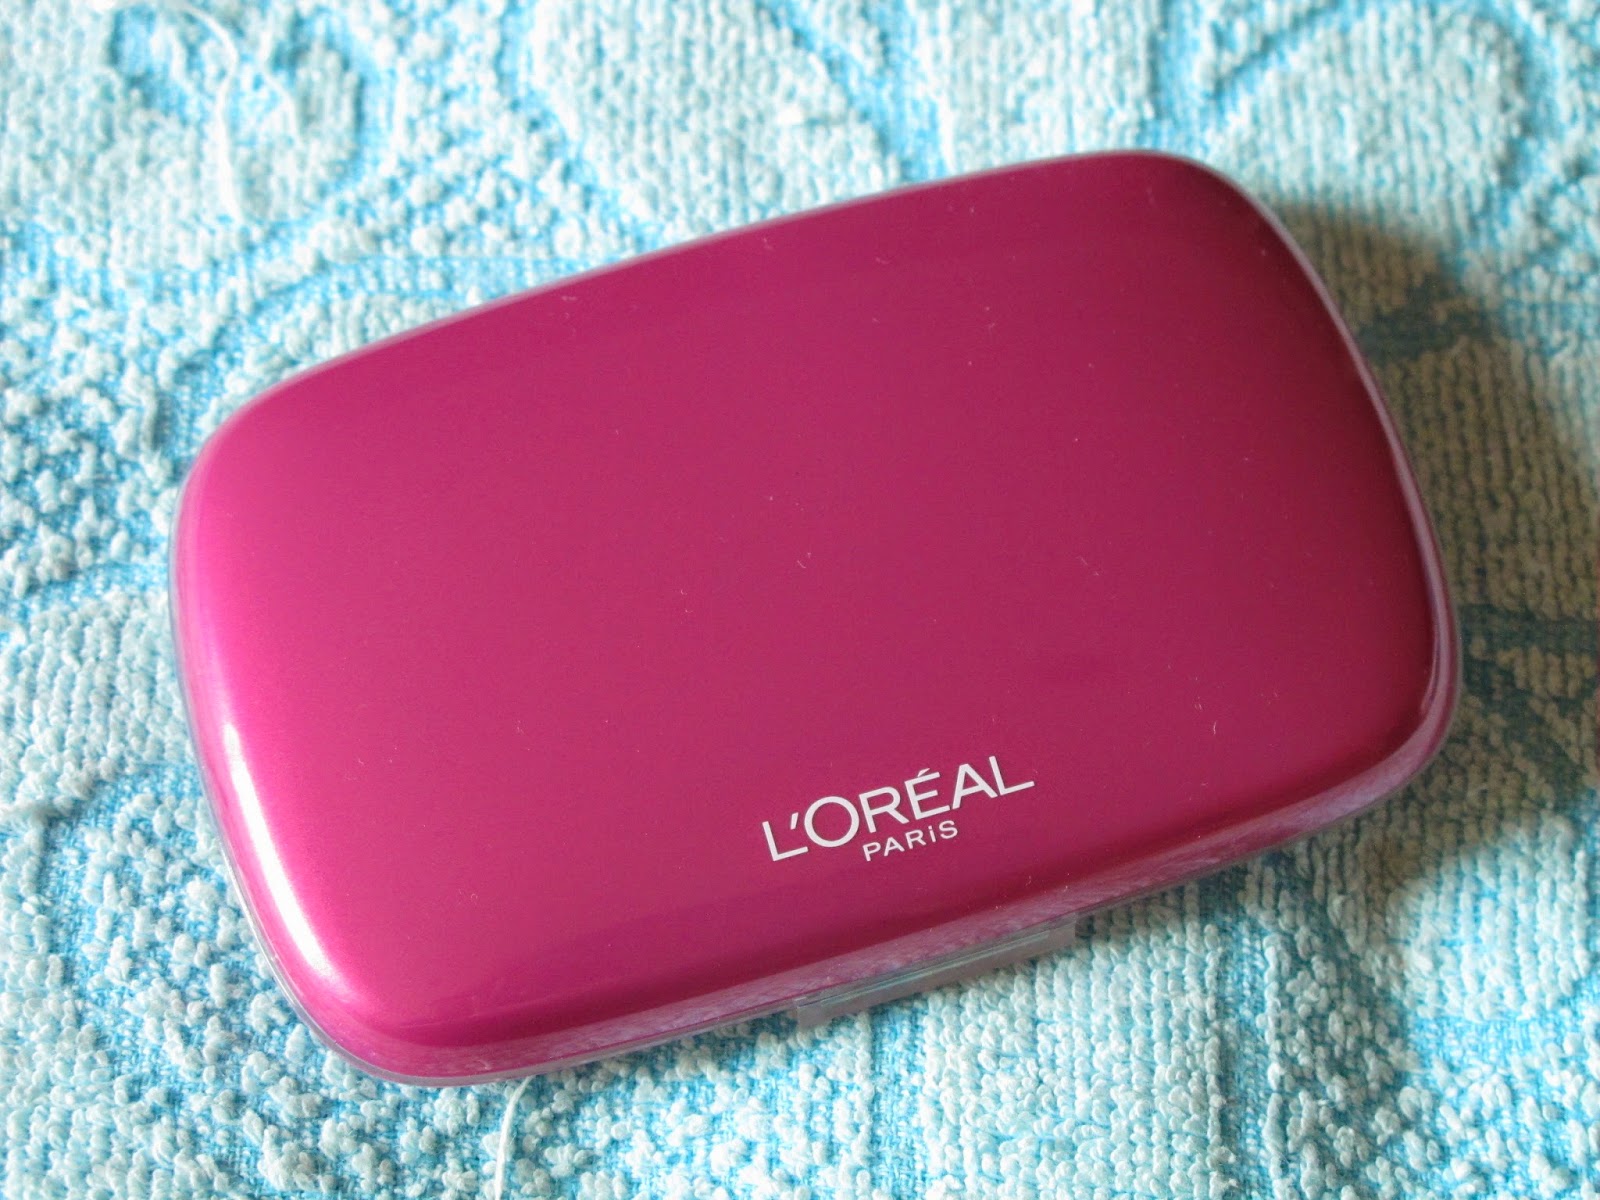
The first thing that will catch your attention - OMG SO PINK?! 
If you absolutely detest pink, then this may not be the product that you want to have. Or maybe you can just buy, hide it at home and apply before going out because the product is quite stellar! 


The L'oreal Mat Magique All-In-One Matte Transforming Powder has a lot of oily-skin friendly claims:

  • Shine resistance of up to 12 hours
  • Powerful sebum absorbant
  • "Just-out-of-shower fresh finish and sensation" - Wahlao this one a bit pushing it haha
  • Poreless skin
  • Great for priming the skin 
  • Minimize appearance of imperfections
  • Ultra sensorial velvety soft touch
Those are a lot of huge claims. To be honest, the powder didn't work that miraculously on me. However, I still love it! For those with extremely oily skin, this powder will work for around 5-6 hours? 5-6 hours is only half the claimed 12 hours, but if you have EXTREMELY OILY skin, you will understand that 5-6 hours of relatively shine-free skin is like a miracle. 

To give you an example - if I don't include this powder in my makeup routine, my skin will get oily once I step into office; that's like 2 hours after application. Sigh~~ 


Ingredient List


Packaging: Pink, pink, PINK! Thank goodness the interior of this product is not pink. Phew. I'm not a pink fan but for the amazing product, I'm willing to shelf my negative feelings for the colour. This contains 6.5g of product, which is significantly less than what I'm used to. I have been using the ZA Two-Way Foundation since secondary school (10 years already!!!) and that has 9g of powder.


Colour: N2 Nude Vanilla is a little too pale for me. I normally use OC10 for ZA Two-Way Foundation. I don't use this powder on its own so it's not such a huge problem.


From left to right:
1. Bare skin
2. One swipe of L'oreal Mat Magique All-In-One Matte Transforming Powder (no concealer)
2. Two swipes of L'oreal Mat Magique All-In-One Matte Transforming Powder (no concealer)
Application: On its own, the L'oreal Mat Magique All-In-One Matte Transforming Powder can be quite drying, especially if you have dry skin. The powder applies smoothly and the provided sponge applicator is quite useful in providing a dense application. There's a tendency for the powder to cake up after the second application, so I will recommend you to stop at one application. Two applications maximum if you have more blemishes to conceal.

For those with more problematic skin, the L'oreal Mat Magique All-In-One Matte Transforming Powder can be used as a finishing powder after your usual BB Cream/Liquid Foundation and concealer routine. Use a less dense, face brush and you will get the perfect look. A dense brush will cake up your face and that is not the look that we should desire for!

Mattifying? Oh yes, definitely. I had relatively matte skin 5 hours after application and I was so impressed! No other powder has lasted me more than 2-3 hours in the oil-control department so this is amazing! If you have normal-combination skin, the mattifying effect would probably last longer on you.

Concealing? For those blessed with few imperfections, this powder is good enough be used on its own. You won't even need concealing because it covers redness quite well. However, if you have a lot of acne scars, pimples and all those face demons, then this will be better as a finishing powder.

Touching up: After using this for more than 2 weeks, I have come to realise that I have to blot thoroughly before any touch-ups. If not, there will be powder coagulated at the oily parts and that's nasty. Hence, quick tip for touch-ups: blot and make sure there are no shiny parts before touching up!

Will I buy it again? As of now, this is the best mattifying powder that I have ever tried. 5-6 hours of mattifying and shine-free effect may not be ideal for some of you, but for an oily mess like me, it's more than sufficient and frankly, quite a miracle. Also, this didn't break me out (halelujah!!). Hence, yes, I will buy this again!

Hopefully this has been useful! Have a great day ahead guys! :)

Sunday, June 29, 2014

Monochrome & prints


Sunday's coming to an end. I have a new Elixir Juice order that just arrived (this time all fruits because my previous order had celery juice in all my selections and I really don't like celery juice) and I just made a Taobao order. So many blogpost drafts created, and I'm tired from taking photographs and editing them.

On a really exciting note, Kengyang's coming back in 2 weeks' time. HOORAH! :))

Have a great Sunday guys! 

The Body Shop Atrium Sale Haul (Chinatown Point)

The Body Shop had an atrium sale last week at Chinatown Point and the prices were too good to miss! It's not like the usual in-store sales; this is like the annual warehouse sale where you can get up to 70% discount! 

I always wanted to try the Tea Tree Cleansing Wipes, and they were going for Buy-1-Get-1-Free, so I grabbed a couple... 


The Body Shop's Body Butters are luxurious and costly. They are usually S$30.90-S$32.90, and I got these two for S$10 each! Score!!


This is my new favourite body scrub - Cocoa Butter Cream Body Scrub. Smells just like chocolate!!! I think I bought this for S$19.90.


4 mini shower gels for S$10. Not bad for travelling.


I needed a more potent eye serum for whitening my dark circles, so I was glad that the Moisture White Shiso Eye Serum was on sale for S$15!


I spent more than S$60, so I was gifted the Spa Fit Toning Concentrate.


It was quite a good sale! I was tempted to go back on another day, but I resisted. Good job to me for resisting! Till next time, TBS! 

Note: The atrium sale has ended. 

Saturday, June 21, 2014

iPrice Coupons Singapore - Get your online shopping coupons & codes here!

I'm no stranger to online shopping; I'm actually quite the online shopping addict. I have days (I'm sure many of you can relate!) whereby I feel really tired and stressed out at work, and I decide to explore the various dangerous online shopping sites. Most of the time, I will end up carting and checking out something. It's a terrible habit to advocate, but this post is dedicated in telling all you online shopaholics how to save some money! 

I was approached by iPrice Coupons Singapore for a blog collaboration and after I browsed the website, I knew I would need to share this with my readers! A quick disclaimer - I was approached by iPrice Coupons Singapore by email to share the website in my blog, but nope, I was not paid to intentionally rave about the website. All opinions are of my own and I genuinely like the website! Can save money le, of course must share right! 

iPrice Coupons is already available in other Asian markets like Malaysia, Thailand and Hong Kong, and I'm so glad that it has finally landed on the red tiny dot! 

With this site, you can also browse through their shop that carries a lot of famous labels internationally and locally. You can search for River Island, Mango and more. Not only that, you will be notified if there are any deals or promotions going on which relate to the brands that you like!


Because I online shop so much, I always try to find discount coupons and codes to at least save some money. I find my codes/coupons either by googling them before I check out, or I subscribe to an online shop's mailing list and I will get notified in my inbox. 

The problem is blindly searching for a working and authentic code on Google is quite a challenging task. There was one time I tried 10+ codes on ASOS and in the end I bought my stuff without any codes, AND THEN THE NEXT DAY ASOS GAVE ME A MAILING LIST EXCLUSIVE CODE. =_= 

Also, I subscribed to A LOT of online shopping website and sometimes my inbox is flooded with various emails from these sites. I usually delete them on a daily basis and in the process of deleting, I may have missed a code or two. 

That's why iPrice Coupons Singapore is a great website - it compiles all the coupon codes for various web-stores like Zalora, Luxola and Zuji. You have the access to all these codes in one site and it's really saving a lot of time; no more googling and trying out various codes for these web stores! 


For example, you have the various available (and authentic) coupons for Zalora. Each code comes with an expiration date, which is a nifty touch.


And some codes for Luxola. Luxola is my guilty pleasure haha, so yay can save money on my next purchase!


There are two types of codes/coupons that you can get. First is the codes that you have to enter when checking out. In iPrice Coupons Singapore, these are indicated by the blue "Get The Code" buttons. When you click one, you will be prompted with the code that you can copy paste on the check-out page. 


Second is orange "Go To Offer" button. This one will bring you straight to the web store. For example, Zalora had a specific sale for Mango. So when you click the orange button...


... Zalora's page will pop up on a new tab, specifically for the Mango items that are on sale! Hence, even if you are not on Zalora's mailing list, you're still informed on the various sales that they have! 


iPrice Coupons Singapore proves to be quite useful for my many impulse online shopping adventures. They are currently adding more and more stores to their list and I'm excited for the future discounts that I can get! HEH. #onlineshopaholicforever 


Do check out the website and hopefully you can get additional discounts on your purchases! :) Have a great weekend guys!!


Quick Review: Annie's Way Aloe Moisturizing Jelly Mask

My previous post on the Annie's Way Aloe Moisturizing Jelly Mask had excellent response, so I feel the need to get back to my readers on how I feel the product has worked on my skin. 

I bought mine from Taobao (here's the link!) and I saved a lot of money by doing that. This mask is available online locally, but it's S$27 per tub. I bought mine for RMB50 (~slightly more than S$10 a tub), so even with shipping charges, I'm paying much less. Taobao is truly heaven. 

I wanted to get one Aloe Moisturizing Jelly Mask and one Arbutin + Hyaluronic Acid Brightening Jelly Mask, but the latter was sold out, so I got two Aloe instead, which was a blessing in disguise because I use up one container more quickly that I expected. 

Each tub contains 250ml of product. It seems like a lot of product, but trust me, you will use it all up within 10-12 uses or so because for each usage, you have to use a lot of product! You cannot be stingy with this. 


The seller forgot to include the spatula and I didn't want to use my fingers to get the product (bacteria alert!!) so I came up with a genius plan - I used an IKEA children spoon. It's made of plastic and I can scoop out a lot of product. Furthermore, when I'm done with the 30 minutes of masking, I can use the handle to scrape the product off. GENIUS RIGHT?! 


How to use the product:
You need to cleanse and tone your face before applying this mask. Then, use a spatula (or a spoon) to scoop out enough product to apply a 0.3cm-0.5cm layer of product on your entire face, avoiding the eyes and lip area. 30 minutes after application, you remove the product by scraping it off with the spatula (or spoon) in a outer-to-inner direction (I always use my nose as the final scraping point lol). After that, you can use water to remove the remainder product. If you have more time on your plate, follow up with a sheet mask!

My thoughts about the Annie's Way Aloe Moisturizing Jelly Mask:
To be frank, I'm undecided whether I love it or whether I hate it. The first time I applied it, I loved it so much. My pimples dried up immediately the next day and my skin felt so smooth for a couple of days after that first application. After that, I just don't feel like the mask worked anymore! My skin still feels smooth after a usage, but that's about it! I'm currently about to finish my first tub and I decided to reserve this mask for days when I'm feeling really lethargic and stressed out at work. It's like putting aloe on sun-burnt areas.

I don't know why it didn't work that well for me. I applied it twice a week religiously and I really didn't see any noticeable changes. Even when I had new pimples, they didn't dry up as fast as that first application. The good thing is I actually enjoy it when I have the Annie's Way Aloe Moisturizing Jelly Mask on my face. No breakouts, no allergic reactions, but also not much beneficial effects. Maybe it's regulating my skin slowly from the inside, but aiyah I cannot see lah.

I still have one more tub to go. Definitely won't be relying on this for acne treatment. It's a good mask to have for those crazy days at work though.

Will I purchase it again? Not really. I feel that there are some sheet masks that do the same thing. Once I finish both tubs, I will go back to using sheet masks regularly. Guys, I'm super bumped that this didn't work better on me :((

Anyone else using this product? What are your thoughts on it? 

Have a great Saturday! 

Friday, June 20, 2014

Elixir Juice - Affordable Cold Pressed Juice!

I recently saw a instagram post from Tammy Tay (@ohsofickle) about Elixir Juice and I immediately clicked the link and browsed the website because I really wanted to find a company that sells affordable cold-pressed juices! 

Furthermore, after doing my research (thanks to my resourceful friends) on juice cleansing, I decided that I didn't want to go on a juice-cleanse. In case you don't know what a juice cleanse is, it's a dietary modification whereby the user consumes different types of juices only for a preferred period of time. Many cold-pressed juice companies provide a 1-day, 3-day or 5-day juice cleanse systems. These systems are also remarkably expensive. The highest price I have seen was over S$500 for a 5-day juice cleanse. Of course, there are some people out there who choose to pay that amount for their health and wellbeing. I will not make judgements on them because it's their choice and if they can afford it then why not right? Personally? I think it's way too exorbitant and I think my body (and soul, and mind, and my everything) cannot take just having juice for more than a day. I love food way too much. HAHA. 

This is why Elixir Juice is perfect for me! Just a quick disclaimer - I am NOT sponsored by Elixir Juice. I have purchased the box of 6 bottles with my own money and I genuinely love everything about this company, hence I'm dedicating a post entirely to Elixir Juice

4 main reasons on why I love Elixir Juice:
  1. Compared to other similar companies/websites, Elixir Juice juices are very affordable. Like S$5-S$7 a bottle affordable. My set of 6 juices was only slightly over S$40, and that's with delivery charges included! 
  2. The juices are described as compliments to daily meals. I love this concept! Instead of forcing the idea of juice cleansing, they encourage replacing soft drinks or other sweetened drinks with their juices. This way, your body will gradually adapt to the healthy changes that you are making and in the long run, I think it's more beneficial for your health! Another reason why I don't want to embark on a juice cleanse is because I don't want to let my body go into a "shock" mode because I'm forcing it to handle just juices for a day or more. Hence, thank you Elixir Juice for providing a platform for people like me! 
  3. The ordering and delivery process was amazing. Your order will be in packages. Each package contains 6 bottles and in each package you can choose up to 3 different types of juices (they have 32!!). So basically, you can only order in multiples of 6. 
  4. The juices taste FANTASTIC. Even those that had primarily vegetables as ingredients. Maybe I'm just used to drinking vegetable juices.  


I think I'm going to make another order now. I really love Elixir Juice! Please don't ever raise your prices okay!!!!


Phil Smith Big It Up! Thickening Volume Cream - MY HAIR HERO

When I was younger (before I turned 21), I had no hair issue. My friends always told me that I had a lot of hair on my head and I wouldn't have to worry about hairfall or hair thinning because I simply had too much hair! So... I didn't really take much care of my hair. I dyed my hair like crazy, even went as far as to DIY bleaching my hair. It was a terrible decision. I had blonde hair for a while and I felt like I was cool but oh gawd now looking back, I looked like a siao nang (or crazy person in Hokkien). Ever since then, my hair condition started to deteriorate. I didn't have major hairfall, but I was definitely experiencing it.

Currently, to some people, I still have a lot of hair on my head, but personally, it's not the same anymore. My hair now is limp and flat and there's barely any volume at all! Short hair with no volume is a nemesis for my huge face. It emphasises the large surface area of my face (sob) and I look super chubby on photos. That's why I was on a mission to get the volume back! Short hair with moderate volume can give the illusion of slimmer face and hello who doesn't want slimmer face? 

I was randomly browsing Luxola one night and chanced upon a 30% midnight sale. THAT'S IT! I have to get my hair products! So, I carted out the Phil Smith Big It Up! Thickening Volume Cream and the Vidal Sassoon Magic Style Activator Treatment for 30% less. YAY! 

The Phil Smith Big It Up! Thickening Volume Cream retails for S$26 for 100ml and the Vidal Sassoon Magic Style Activator Treatment retails for S$5.90 for the 30ml bottle, and S$12.90 for the 100ml bottle

These 2 products are my hair heroes. Why have I not known about them beforehand?!?!?! I have used them daily ever since I got them and the difference is noticeable and I feel immensely happy with the products. LOVE!! 


The Phil Smith Big It Up! Thickening Volume Cream is specially formulated for short to medium-length hairstyles. This is really amazing if you have short hair and you love the bob with the inner curl at the hair ends. The volume that I get after application and blow-drying is manageable and long lasting. You will not get va va voom volume, but there is a marked improvement from limp and flat hair. I stepped out of the house at 8am with nice hair and came home at 8pm with nice hair. Amazing longevity! 


You only need a little product if you have short hair. Remember that you have to use it on towel-dried hair and not dry hair! 

The word "thickening" may intimidate some people, but to be honest, once you run your hands through your hair, you don't feel like you have anything applied. After that you can blow-dry your hair and see the transformation!!! I actually use a round-barrel brush while blow-drying so yes to maximum root lift! 


If you blow-dry your hair frequently, then I suggest that you get a heat protection product for your hair as well. I blow-dry my hair almost every day so I definitely need one. The Vidal Sassoon Magic Style Activator Treatment works amazingly and it's obvious that the product works because when I'm blow-drying and combing through my hair, there are no knots or tangling. My hair was super smooth and actually it helps in making the blow-drying process faster because I no longer need to get rid of tangles and knots using a separate comb. 


After I apply Phil Smith Big It Up! Thickening Volume Cream, I will carry on with my makeup routine, and then once I'm done, I will apply the Vidal Sassoon Magic Style Activator Treatment, with the majority of product being applied on the hair ends. Then I will blow-dry my hair normally. Works like magic!


After almost one week of trying out, I really fell deeply in love with both products. The difference is obvious and I feel more confident about my hair now. Just amazing!

Anyway, if you have any volumising/thickening hair products that you love, please tell me all about them! I'm now a complete believer of having more voluminous hair.

Have a great day guys! Enjoy your Friday! :) 

Monday, June 16, 2014

Birkenstock: Yay or Nay?

I think I am going crazy. I have soooooooo many pairs of shoes but all I can think of is how I will style my outfits with a pair of Birks. I used to own one when I was really young, and I only had that, my flip flops and my school shoes, and I was done. Then nobody wore them anymore so I threw my extremely worn pair away, and now they are back in style. Not just back in style, but hey BACK IN STYLE. I follow a lot of fashion bloggers and fashion Youtubers, and most of them seem to be really into Birks (especially Arizonas) and I think I have been heavily brainwashed. 

I just scored a pair of Ibizas on Carousell for $12 (wtf?! I was highly doubting the authenticity, but the seller said that they were factory rejects, so okay lor, better than fake. When they came in the mail, ah~~ best buy of 2014!!) and all I can think of is how I want to wear them to office next week. Also, I really really REALLY want a pair of Arizonas in Stone Birkibuc. I don't really like all-black Arizonas, suede or patent leather. The Arizonas in Stone (Tobacco Leather also very pretty!!) are so gorgeous. Confirm can add some pizzazz to a laid-back all-black outfit. Aiyah, I want.....

Here's a The Fashion Citizen video on how to style Birks. Personally, I don't fancy overalls, but Stephanie (one half of The Fashion Citizen) rocks any outfit. 


Let's see if I will still think about Birks a month from now. If I still lust over them, then time to find them in Hong Kong when I'm there in August!! 

Saturday, June 14, 2014

Video: Fast Winged Eyeliner Look

I don't know how this will turn out but... HERE IT IS. A video of me applying my eyeliner - it's my everyday winged eyeliner look. Super fast, super easy, especially if you use a felt-tip eyeliner pen. I'm using the Shiseido Integrate Cat Look Liquid Liner. It's not my favourite felt-tip eyeliner pen but I ran out of my Heroine Make one, so this will have to do the job! 

Disclaimer: I'm not a video person. When I was editing this video, I realised it was my fourth time using iMovie since I converted to Apple (5 years ago). So, please be kind! Treat it as a super super SUPER newbie's project lah. :D I don't even know how to change the thumbnail of the video HAHAHAH HOW AH TEACH ME PLEASE. 

Second disclaimer: I have a lot of acne scars and some blemishes. Aiyah, everyone should get used to it already lah. 

Hope this video helps! 

Music: Flower Garden by Joe Hisaishi
Recorded using iPhone 5


Friday, June 13, 2014

Quick Review: Innisfree Super Volcanic Pore Clay Mask


If you know me well, you will know that I religiously apply clay mask twice a week (Wednesdays and Sundays!). I don't stick to just one brand, I generally use all types of clay masks that claim to be beneficial and effective for oily and blemish-prone skin. I get excited when I apply clay mask on my face! It's weird! When the tingling/cooling sensation starts, I feel like I have done myself a huge favour - like "Woots! My skin is finally getting the treatment that it deserves!".

Recently, I have been wildly addicted to the Innisfree Super Volcanic Pore Clay Mask. When I say wildly, I mean WILDLY. Usually I have a few clay masks that I rotate and use. But ever since I got the Innisfree Super Volcanic Pore Clay Mask, I just...kept using it. No other clay masks work as well, and I think I'm hooked. I must thank Yinghui for helping me buy one when she was in S.Korea a few weeks ago!

The main reason why I love this clay mask so much is because there's no tingling sensation. Some clay masks have crazy reactions on the skin and sometimes you feel immense pain for the first couple of minutes. This sensation will eventually die down to a cooling sensation. For me, the tingling sensation means that the product is working and I don't mind that little bit of pain because I know it will go away. However, to those with sensitive skin, this sensation is way too much for the skin to handle and some users may experience redness after mask removal because their sensitive skin couldn't handle the chemical reactions.

If you're one of those people, grab the Innisfree Super Volcanic Pore Clay Mask NOW! Upon application, there's no tingling/painful/biting sensation whatsoever, instead you get this super shiok cooling sensation. The thick and gooey clay mask applies and spreads out easily on the skin. A little bit goes a long long way and I think this 200ml container will last me more than the recommended 9 months of storage. After 15 minutes, you just remove it by using warm water (normal tap water works as well, but the removal process will be longer). After removal, my skin felt refreshed and soft and SUPER SHIOK LAH. I want to apply this mask everyday but I think that will be major overkill. Good things must tahan ("wait" - for non Singlish speakers) right? :D

I have used the Innisfree Super Volcanic Pore Clay Mask for a good two weeks and I don't get breakouts from using it and it's actually working on the huge pores around my nose area. It's a great product to own and use if you have the habit of using clay masks in your skincare routine. Do give it a try!

ALSO,

I think the Innisfree Super Volcanic Pore Clay Mask smells a bit like Vitasoy Malt Flavour?! So strange but since I love that drink, win-win for me. HAHA.


Have a great weekend guys! Any clay masks that you think I should try out? 

Thursday, June 12, 2014

Wisdom gone.

Today's the 9th day after my wisdom tooth surgery and I'm having major discomfort at the affected gum area. The gums are trying to close but the process is really slow and the area is itchy and swelling and painful and everything unpleasant.

I feel like a teething baby. Not like I know how that feels like (anyone can remember their teething period? Definitely not me), but it's the best description of the nightmare that I'm going through.

Every time I eat things with a little bit of acidity or spiciness in them, I get these strange flares that hurt. The pain would go away eventually, but when the pain hit, it's a bitch.

I sound like a whining brat. Hmm.

But I really hate my situation right now and I feel like I cannot function properly. I just want to .... sleep the pain off!

Blogging will have to wait. The pain is affecting my mood and my brain is not rationally accessing and reviewing the products that I'm using now objectively. I want numbness. How to do that!!!

The first few days after surgery were very awesome. Practically painless because the painkillers were amazingly effective. Now that I have run out of them, I'm relying on Panadol Actifast, which DOES NOT WORK AT ALL.

Okay.

I shall stop whining and eat some cold yoghurt.

I have lost ... 1.9kg. Hoorah?

Thursday, June 5, 2014

ASOS Haul (they gave me discount codes!!) + a really important tip!

I bought these 5 items in 2 occasions - both with different discount codes that worked on top of already discounted items. Hooray! 

I thought the leggings were quite crazy, but I guess it will not look so risqué if I match it with a long black tunic top and a black pair of slip-ons?  

ASOS Leggings in Tribal Print with Side Elastic Criss Cross Detail
ASOS Silky Shorts in Floral Print
Blue Vanilla Printed Midi Skirt
Bourjois 1 Second Mascara
Bourjois Dark Khol Mascara

Anyway, I realised that there is a way of further reducing the total amount that you pay when you check out from ASOS. You know how they always change the currency to Singapore Dollars? HECK NO! Change it back to British Pound and after you do the exchange rate checking and the mathematics, you will realise that it's actually slightly cheaper if you check out in British Pounds than if you check out in Singapore Dollars.

For example, the silky shorts in floral prints? It was 12.50 pounds, but when I converted to Singapore Dollars, it's S$30.74. Of course, there are hidden credit card charges when you check out in a different currency, but I checked that too and I paid less than S$30.74. OH YEAH!!

Have a great shopping time guys! :) 

Additional 15% off sale items ("FETCH15"). 
Ends Sunday, 8th June 2014, 7pm SGT. Only valid on one transaction per customer. 

Review: The Body Show InstaBlur

When I heard about the official release of The Body Shop Instablur, I knew I had to get one to try and see if it really is as magical and perfecting as it claims. 

The Body Shop Instablur retails for S$32.90 at The Body Shop outlets nationwide. I was lucky enough to have a S$15 discount from Perkd, and so I purchased mine for only S$17.90! A great deal! 

For S$32.90, you get 25ml (0.84 US fl oz) of product. 25ml may seem a little meagre, but a little bit of the product goes a long way so I can assure you that the 25ml will last you a long, long time. 

The Body Shop Instablur claims to have 5 perfecting characteristics:
  • Shine Controlling for up to 12h
  • Reduces appearance of pores
  • Blemish Hiding
  • Complexion Unifying
  • Make-up Extending
I'm not exactly sure what "complexion unifying" really mean, but The Body Shop Instablur certainly does live up to its other claims. 


Ingredients List


Packaging: The Body Shop Instablur comes in a classy, white tube and when you unscrew the black cap, the opening is sealed, which is a plus point for those who are concerned with hygiene. It's good to know that no other fingers/hands have touched the opening of the product. Overall, I like the product packaging; it has a certain laboratory, disinfectant factor to it, which makes me more assured of the cleanliness and the effect that it has on my skin. It's strange how packaging can change the perception of effectiveness of a product. When I use this, I don't feel like it's going to cause breakouts. I feel like it's going to work in concealing them!


Texture and consistency: The Body Shop Instablur has a deceivingly waxy texture that blends out to a dry, matte and smooth consistency. I think this is contributed by the first ingredient listed, which is Isononanoate, and it's a skin conditioning emollient that leaves that silky, smooth feeling after application.

If you compare the photo above (product on skin), and the photo below (product blended out on skin), you can definitely see a marked difference in terms of the obviousness of the lines. I did not alter/edit the below photo in any way possible. Quite impressive eh?


Application: A little bit of The Body Shop Instablur will suffice for the entire T-zone and jawline area. When I apply my BB Cream/liquid foundation over it, it's quite obvious that the BB Cream/liquid foundation no longer seeps in into the huge pores that I have, making them more obvious to the naked eye. Instead, the Instablur already filled in those pores and the BB Cream/liquid foundation just glided effortlessly over the Instablur.

Oil and shine control? I'm not convinced that the Instablur will help to control oil and shine for up to 12 hours. However, it does its job well in keeping shine at bay for a good 7-8 hours. Usually, my nose area will be quite oily within the first 3 hours of foundation application. It's a problem that I have been wanting to eliminate and I believe that the Instablur can help me achieve the ultimate shine control! Of course, I have to combine the Instablur with another product (L'oreal Mat Magique! I just tried it and it is amazing! Review coming up soon), but as a makeup primer, The Body Shop Instablur performs beyond my expectations.

Pores and blemish hiding? The Instablur does a good job in concealing the pores and acne scars. The photo below may seem a little bit scary to some of you but it's a close-up lah, of course it's scary haha. My most "pore-some" (HAHA) areas are my nose and the upper cheeks area. I also have acne scars on both cheeks. The Instablur actually does a pretty impressive job in concealing those areas. It's not a perfect concealment but it's definitely much better than if I were to use the BB Cream/liquid foundation alone.


Longevity: The Body Shop Instablur lasts for a good 7-8 hours. I think my skin is way too oily for it to last for the claimed 12 hours.

Caking-up problem: There's one problem that I encountered time and time again after using the Instablur. My skin will look fine for 7-8 hours, then it will get oily. So, my normal routine will be to blot the oily areas and then touch up the areas with loose powder, using my trusted Real Techniques powder brush. Now, after using the Instablur, the areas that I have blotted and touched up will cake up and I can actually see the powder coagulating or curdling in one area. It's very strange. I got rid of this problem by not using the powder brush and replacing it with a normal powder sponge. But still, it's very very strange. Anyone encountered the same problem? How did you fix it?

Will I buy it again? The Body Shop Instablur is a great, great product for those with extremely oily skin and have huge pores and acne scars. It does a fantastic job in controlling shine and as a makeup primer for your next BB Cream/liquid foundation step. Personally, I will only use this during the hot months, when my oil glands go into overdrive mode. Maybe during the cooler months (when my skin is not so oily), I will not use the Instablur as frequently. It's still a good staple to have in your collection though!


Hope this has been useful! Have a great day guys! :)