Wednesday, February 6, 2013

[The Silver Yarn Project] - celebrate the stories of your seniors!

My grandparents are my inspiration in life. Without them, I don't think I'll be able to survive the tumultuous childhood that I sadly suffered from. 

To cut the long story short, they were the ones who raised me up since I was 1.5 years old till I was about 8. My mom had to work in Batam/Singapore (can't really remember), and so I saw very little of her during those 6.5 years. My grandparents were like my parents back then, and it's sad that I didn't know how to appreciate them when I was young. 

After moving to Singapore, I realised how much I miss living with my grandparents, how much I miss watching dramas with grandmother (HUAN ZHU GE GE!) and how much I miss eating her home-cooked food. 

Both my grandparents have birthdays that fall on the same date! My grandmother always says that it's good because she didn't need to eat so much fattening cakes then. HAHA. 


My grandmother is a social butterfly. She has so many friends and she frequently travels with them. I remember one time when we were going to Kuching from Pontianak by car (8-hour drive), I was sitting at the back of the car and could not sleep at all because my grandmother and her friends were gossiping and joking throughout the journey. :D

Also, my grandmother is really self-conscious about her hair. She hates white hair and so she dyes it frequently. Also, she still makes sure she is properly dolled up before going out of the house. I guess that's where my makeup interest came from?

My grandmother talking to one of her close friends during her birthday party. 
My grandfather, on the other hand, is obsessed with taking photos and obsessed with all kinds of camera models. We used to have so many photo albums because he kept taking photos. Now, my grandfather is quite frail, so he doesn't take so many photographs anymore, but when there's a special occasion, his interest will still ignite! During his birthday party, he insisted that he brought his camera so that he could take photos of others enjoying his birthday party. :D

My grandfather doing what he loves to do. 
Family portrait! Not the full strength though...
I truly love my grandparents very much, but I don't normally express it to them. It's a pity because it'll certainly make their day if I pay more attention, but I still can't break out of this shell!

Hence, I particularly love the idea that The Silver Yarn Project is bringing across. The purpose is simple - celebrate the stories of seniors!

You don't need to give them extravagant gifts; sometimes a listening ear is what is most precious.

The Silver Yarn Project aims to:

"bridge the communication divide between the young and the old and bring them closer"

which in my opinion, is a highly relevant area. Grandparents (or other seniors) are often neglected by the younger ones and many of us take them for granted. Also, many love their seniors, but are not comfortable with showing their love (ME!). It is time we take time to think about how we can show to the world how amazing the seniors we know are! 
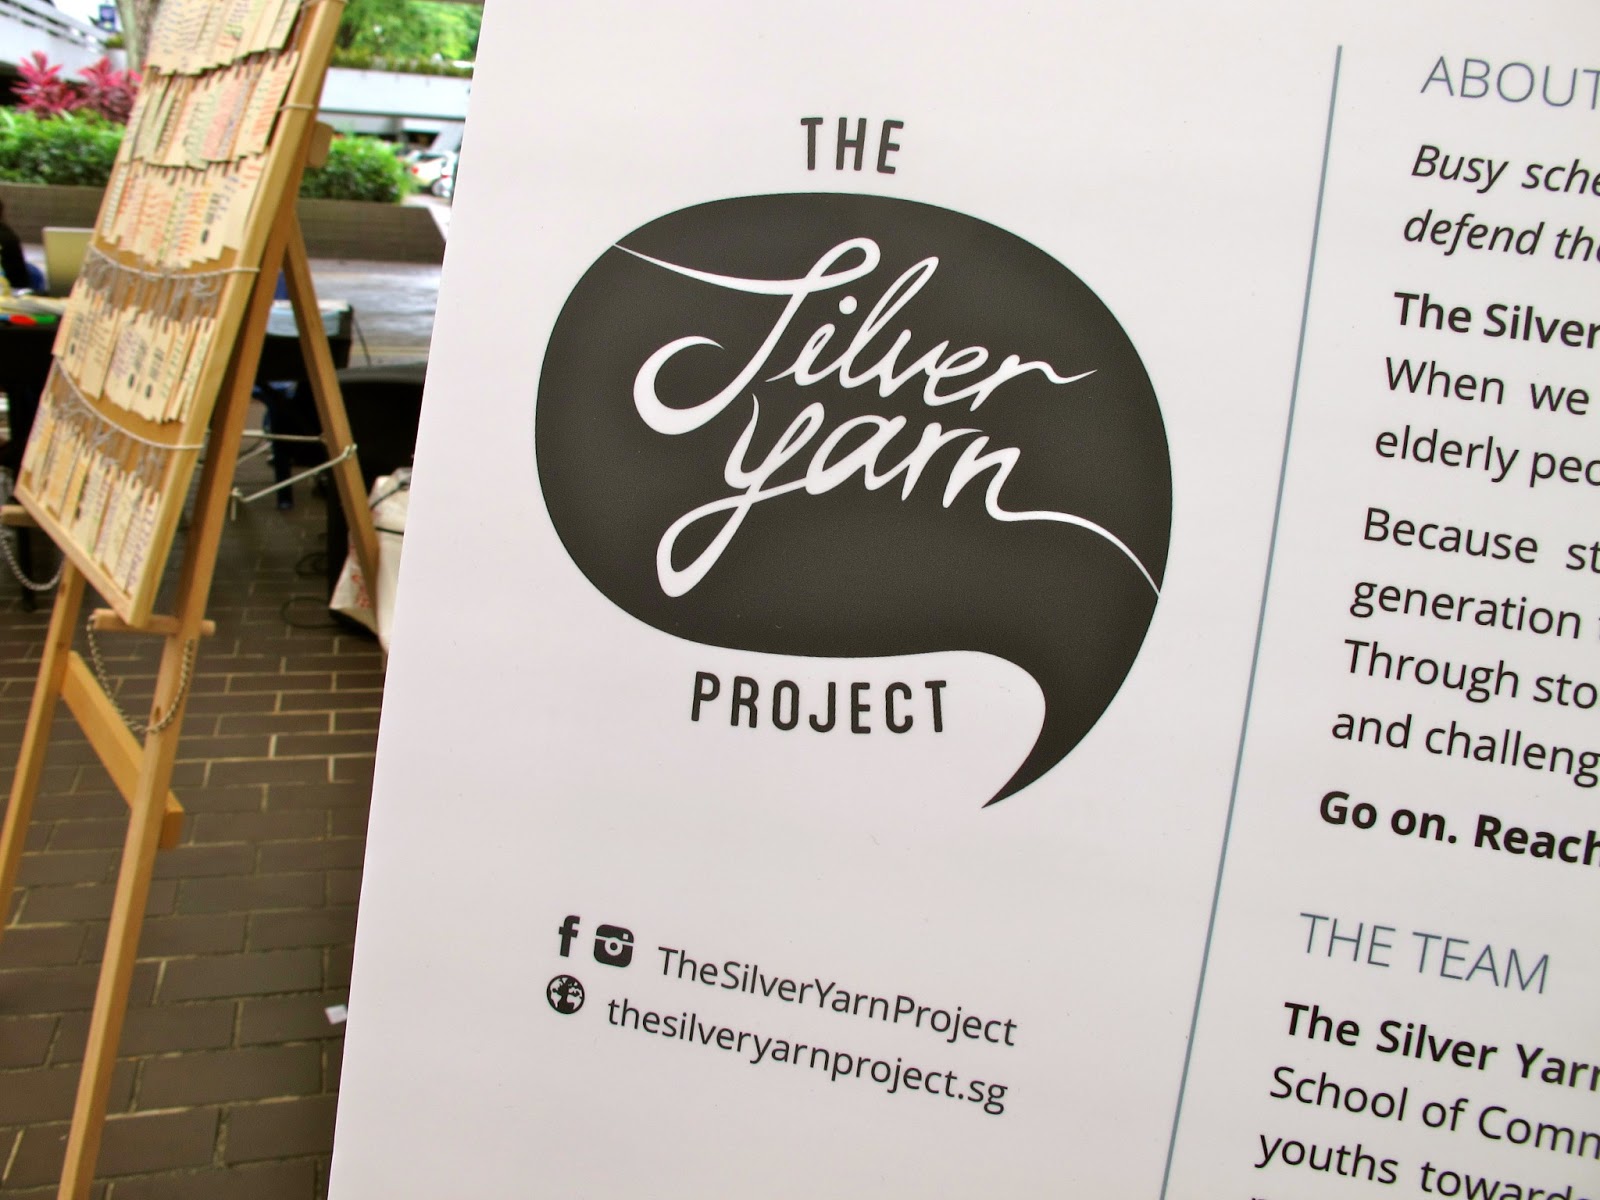

The Silver Yarn Project booth provides opportunities for anyone to write down the stories of their seniors. While I was writing my grandmother's story, I realised I knew little about her. It saddens me, but this opportunity definitely encourages me to listen to my grandmother more!


Booth visitors were also given goodie bags!!


I especially like the stickers. And the angpows are very handy too (of course not for me lah! HAHA). 


Here are some of the stories that I read! Some were really quite hilarious! :)


HAHAHAHAHA FEISTY GRANNY! SO CUTE! 


And my grandmother's story! :D


Huiling (perfect girlfriend 101 :D) mending the booth
NOW, HERE'S HOW YOU CAN PARTICIPATE IN TELLING THE WORLD HOW AMAZING YOUR SENIORS ARE!! 

The Silver Yarn Project team is holding an Instagram contest (#silveryarn), and the winning photo will win a Nikon Coolpix P310! 

Details are below (or you can visit their facebok page: http://www.facebook.com/TheSilverYarnProject


Alternatively, you can watch this video!!


The Silver Yarn Project is proudly brought to you by 4 NTU WKWSCI final-year undergraduates - Alan, Sarah, Nicholas and Regina! 

I love their idea, and I always tell people how I love the name "Silver Yarn". :D 

Do show them support and most importantly, show your grandparents (or other seniors) some love! 

Goofy photo of Alan, Sarah, Nicholas and Regina. HAHA ni men very cute!

Sarah, Regina, Alan and Nicholas at The Silver Yarn Project booth! (Photo by Ivan Tan)
I can't wait to go back to Indo next week so I can take photos of my grandparents! :))


New Foundation Routine: Laura Mercier Tinted Moisturiser + Benefit That Gal Brightening Face Primer

I'm so excited to write this post because the mentioned products have worked so well for me! It's a new foundation routine, and I can't wait to share it with you guys!

I used to slap a thick layer of liquid foundation in the past, but I don't think my skin can take on a daily basis anymore. I even shun BB Creams now because of the amount of wax they use inside! I read some post on the alleged over-usage of wax, but I'm not very sure of the truth in it. BB Creams just don't work on my skin lah, they break me out. :( 

Hence, I turn to tinted moisturisers! I grabbed a Laura Mercier Tinted Moisturiser sample when I stopped by its counter and it is BEYOND amazing. I love it so so so so very much! I'm now highly inclined to buy the oil-free formula one! The full-sized product cost S$68 but IT WILL BE AMAZING, so I'm gonna get it soon! 

I coupled the Laura Mercier Tinted Moisturiser with Benefit's That Gal Brightening Face Primer, and the final look was AW-YEAH! 

Naturally, I have to use a concealer to cover up my acne scars, but I have been using the same one for months, so I'm skipping it out of this post! 

PHOTOS TIME. 


Laura Mercier's Tinted Moisturiser is extremely lightweight, but that does not mean that it has no coverage. Surprisingly, it provides a light-medium coverage (depending on how many layers you apply). Also, the tinted moisturiser does not leave a tacky feeling on your skin. The most important thing is there's no unnecessary floral fragrance!

Benefit's That Gal is a really gorgeous face primer. It applies beautifully and does not make your skin look like a 1000-watt lightbulb. I don't know how Benefit does its formulation, but it seems like the appropriate places are mattified, while the raised places (nose bridge, upper cheek bones, etc) are highlighted. Either the product is created by a genius, or I am a genius during application. :P


I usually will mix the two products together on my fingertips and then apply it straight on my face. No brush whatsoever, because I don't like to apply liquid stuff using a brush (my logic is, if you use a foundation brush, you have to wash it right after using if not it's eeky and it's a bacteria heaven, so I'd rather not waste my time while I'm rushing). Using your fingers actually works a little bit better because your body temperature will warm the products ever so slightly - helps with blending!

Initially, the products will seem too watery.  But after a few massage circles, everything's absorbed and fabulous!


LIKE THIS! Don't see the difference yet right? Let me compare it with my bare hands. 

After application

Above is an AFTER photo, and below is a BEFORE photo.

Notice how there's a slight shine after application, and the red areas are not as obvious? AMAZING.

Before application

The plan is, I shall be an amazing granddaughter, niece, cousin, grandniece in Indonesia so I can collect more angbaos, and so I can pay my debts and BUY THE LAURA MERCIER TINTED MOISTURISER!!

:D

Sunday, February 3, 2013

How to fake radiance! (Using benefit, elf and stila products)

This was a requested post from one of my readers. I'm deeply sorry to that reader because this post has been delayed for TOO LONG. Laziness took over, but something snapped inside me and I decided to be a better beauty blogger! 

Foundation routine is a must for anyone who has blemishes or acne scars (MEMEME!), but just relying on a good foundation routine will not give you a natural finish. Sometimes, you look too cakey or too made up. Some people may suggest using a foundation that gives you a dewy finish! Yes, I agree it looks good when you apply it, but after a period of time (especially if you have combination to oily skin), you will look like you just dipped your face on a plate full of oil. NOT GLAM. 

For those with dry skin, it's good news because a dewy-finish foundation will last longer on you. So for those with combination-oily skin, what do you do? Especially in a country like Singapore that has such blasted weather? 

My suggestion is to scrimp on your foundation routine. Notice I said scrimp, and not scrap. What I do is that instead of a liquid foundation, I use a tinted moisturiser. Then I apply concealer on needed areas. Lastly, instead of using a sponge to apply powder, I use a big fluffy brush. This way, you will not look cakey, but you will still have the matte look! 

Then the question becomes how do you not look DEATHLY? This post will explain to you how you can fake radiance (and not look like a ghost. yikes.). 

First, here are the products that I'm going to use:
  • benefit SUGARlicious set (I will be using bene tint, high beam and sugarbomb blush)
  • stila illuminating finishing powder in gold
  • elf healthy glow bronzing powder in sun kissed
  • elf blush brush
  • elf complexion brush


Pardon my overused elf bronzer. It's the best all-over bronzer that I have used so far, and it's so cheap!! Time for me to get my second piece!


So this is me with my "scrimped" foundation routine. I just look....pale. Not good. ALSO, pardon the bed hair! :D


First up! benefit's bene tint!


Using the applicator, dab 3 dots on your cheek area (or wherever you normally put your blusher on). The trick with bene tint is you CANNOT dab on both cheeks and then start to blend. This product dries quite quickly, so if you dab on both cheeks first before blending, the dots on the first cheek that you dab on will start to dry, and when you blend, you get ugly streaky red spots.

Hence, you should dab, dab, dab on one cheek, blend, dab some more if you want a redder tint, blend again, and then proceed to the other cheek and repeat.


To highlight, I'm using benefit's high beam as a base.


I apply it on the upper cheek area, the nose bridge and the tip of the Cupid's bow area. I use the high beam first before a powder highlighter because I want my highlighting work to stay. If you solely use a powder highlighting, you will notice that what you apply will disappear very quickly, and you will need to touch up more often.


Blusher time - benefit's sugarbomb!


Using my elf blush brush, smile and brush it over the apples of your cheek. It sounds very cliche - "the apples of your cheek" - but it really makes sense!


Moving on to bronzing activity (sounds so mafia, haha), I'm using my elf blush brush and elf bronzing powder first.


Apply it to the same area as to where you applied the blusher. Yes it sounds very silly, why apply blusher then cover it with bronzer? But that's exactly what I'm doing! The thing is I'm not actually covering up the blusher. Instead, I'm adding bronze hues to the originally reddish and pinkish tint. The slight shimmer from the bronzer will also make my cheeks look more dewy (hence faking the dewy-finish foundation look).


Now, using my elf complexion brush (or any bigger face brush) and the same bronzer ...


I'm going to apply it to the hollow areas under my cheekbone. Yes, you see my weird face muscles, that's how you find your hollow areas.

When applying bronzer here, you have to be really careful and have a light hand. What I normally do is, I load my brush with the bronzer, and then I tap it against my palm to get rid of excess product. Then I apply it gently and swiftly down the cheekbone line. The darkest part should be the area nearest to your ears, and the gradually lighter, creating a gradient effect down the line.

I forgot to take a photo of my next step, but usually I use whatever's left on the brush and apply it on my temple (side of the head, slightly above your eyes) area. People say it's slimming. I don't know if it even makes a difference, but it's my habit to do that. haha.


Back to the elf blush brush, I'm now applying a powder highlighter (stila illuminating finishing powder).


Apply it to the upper cheek area, just below your eyes.


And also on your nose bridge! If you want further contouring, you can use an eyeshadow smudge brush, dip it on some bronzer, and then apply it to the two areas next to the nose bridge. This way, you can create the illusion of a sharper nose without the plastic surgery. However, it's really a hassle and you have no time to do that in the morning, especially when you are in a rush!!


WE ARE DONE! :) The final product is you will look more radiant, without looking too made up and too fake!


Nah, give you all a comparison! :)


I know, I know. I need to do something about my eyebrows AGAIN. I will go trim it soon!

I hope this post has been useful! Now all of you can look radiant without spending too much time or without looking too made up! I think the above procedures took me less than 5 minutes. YAY! :)

Sunday, January 27, 2013

Late night hauling (MDS Collections & The Scarletroom)

So I just spent S$40 on the following items from MDS Collections and The Scarletroom. Online sales are quite awesome. :D 

Now I have choices for Chinese New Year! Yes, maybe not the black dress from Scarletroom, but it's always good to have a black dress in my collection! This particular black dress also looks demure from the front, but oohlala it's all mesh + cut outs at the back. :D Obviously, I will wear pretty tanktops/bralets/camisoles underneath it, can't wait to wear it!! :) 

S$12.60 (originally S$42)
http://www.mdscollections.com/pd-mds-empress-sequin-cardigan-in-pink-771pink.cfm 

S$12.60 (originally S$42)
http://www.mdscollections.com/pd-mds-sassy-preen-frock-in-prints-2215848prnt.cfm

S$15.50 (originally S$27.50)
http://thescarletroom.com/dresses/waisted-mullet-dress-black

YAY SALES! :)

Saturday, January 26, 2013

Exercise + diet routine (how I lost 6 kg in 4 months)

Losing 6 kilograms in 4 months may not be a feat to some people, but to me, it's a reward for my hard-to-come-by perseverance. The main reasons why I was so determined to lose weight was because I had enough of people shunning me because I look fatter than the average human being. I mean, yes, some people were nice and they sais I was just a little bit plump, but there were others who went all out to make sure I felt bad about myself - including some family members too.

I was under depression almost 1.5 years ago because of this matter and had so many suicidal thoughts. Then one night, I snapped out of it and decided to give it my all. I lost 6 kg between February 2012 and June 2012, and currently I'm just trying to note gain anymore weight. If I do lose more weight now, it will be a bonus, but my exercise and diet routine now is just to maintain the weight loss.

So here is my exercise routine!

Running/jogging/walking

I made it a habit to run, jog or walk at least 4 times a week. It's not about how much calories you are burning, it's about moving around. You remain stagnant in a certain position so much everyday that you  accumulate fats in areas that you don't want fats to store. For example, studying or being in school means you are sitting down a lot, and hence if you eat too much, your fats are probably going to accumulate in the tummy and butt area. NOT GOOD. Therefore, it's important that you move about by either running or simply walking around your estate.

Don't under-estimate walking. Walking more contributes to the increase in your metabolism level. Increase in metabolism level means that the rate of you burning fat WHILE NOT EXERCISING is faster.

If you want to lose weight, running is great, especially when you add intensity levels into your routine. For example, you can sprint for 1 minute, and then jog slowly for the next 2 minutes. You don't need to be a marathon runner to be able to lose weight. It's all about moving around and not being in the same pose for too long.

Online fitness videos

I have two videos that I want to share:

1. Jillian Michaels 30 Day Shred (Level 1, Level 2 and Level 3)


The video above is a compilation of all 3 levels, but the gist is you start with Level 1, and then change to Level 2 on your 11th day and then to Level 3 on your 21st day. Some of the moves are quite simple, but some are really painful.

The 30 Day Shred has varying effects on different people. Some lost weight, some gained weight instead (but they noticed their body contours were more defined and firm). For me, I lost minimal weight but the inches lost from my tummy and legs were quite spectacular. I was really happy with my tummy area because my waistline was very obviously smaller!

2. P90X videos

Sadly, I couldn't find legitimate videos on Youtube, but you can always Google for them. I don't really do P90X exercises often because they are really intense. The first time I did it, I couldn't walk properly the next day. It was really quite painful.

For those who don't want to gain more muscle mass than necessary, I suggest that you don't do the P90X exercises too often.

A typical exercise day for me will be:

  • 45 minutes jog around my estate
  • 15 minutes of a combination of 30 Day Shred moves and P90X moves
  • 5 minutes stretching
Of course, exercising only WILL NOT lead to weight loss. What you need to couple it with is a good diet. Not starvation definitely (I'm guilty of this, especially on days when I feel flabby. Yikes.)

A good diet to have:
  • Many people say just avoid carbohydrates. WRONG. Carbohydrates are highly important for your system. What you need to take note of is what kind of carbohydrates you eat. Anything processed is a no-go. White bread and white rice are two of the most evil things you put in your mouth. Once in a while is of course perfectly fine, but I will suggest going for unprocessed carbos. Whole grains are fantastic, and just avoid eating potatoes. Beans are also great. 
  • More fruits and vegetables. This is a no brainer. However, skimp on the dressing. Many fast food joints' salads contain higher calories than their burgers because of the crazy amount of dressing they include. Red wine vinaigrette is a great dressing. Personally, I eat my salads with as little dressing as possible. 
  • TOFU. This is my all-time favourite diet food. Tofu is just packed with goodness. You get the calcium, you get the protein, but not the calories. Furthermore, eating tofu regularly can help to lower your cholesterol levels! 
  • KIMCHI. I love pairing kimchi with tofu. They fill you up like crazy, but you don't get as much calories and fats. 
  • WATER. Yes, water really does help in weight loss. Also, it doesn't hurt to hydrate yourself with something that contains no calories at all. 
It's a good diet to have, but don't follow it too strictly. Sometimes, you need to reward yourself with good food and it's okay to eat fatty food once in a while. 

In my case, I cannot resist good food AT ALL. So, whenever I eat high-fat content food or high-calorie food, I compensate by exercising more. Indulging in good food every now and then is amazing for your mental health. Don't deprive yourself!! You'll get depressed along the way and nope, that's not very nice! 

The above is just my personal take on exercise and diet routine, please don't take it too seriously. The tip is to find the best exercise and diet routines to suit youtself! :) However, I hope this post has been useful for anyone who's looking to lose weight/maintain the weight loss - I hope it directs you in the correct direction! :) 

Have a good weekend, everyone! :D


Review: Etude House Line Nuance Duo in 02

I'm always amazed at how cheaply some Korean cosmetics are on Qoo10, and being a cosmetics hoarder, I tend to just give in to temptations and click "Confirm Purchase". 

The Etude House Line Nuance Duo in 02 is another cheap find on Qoo10. I think it was around S$8 when I purchased it. Quite sure it retails for much much more in stores. If you are interested, do visit this link to buy: http://list.qoo10.sg/gmkt.inc/Goods/Goods.aspx?goodscode=408453629 

I bought it in shade 02 - baby peach eyeshadow with mocha eyeliner. 

Yep, it's a double-ended pencil - eyeshadow on one end and eyeliner on the other. Quite convenient if you hate carrying around heavy makeup bags. 


Packaging: I think it's just me and my bias towards sleekly designed cosmetics. No need for colourful, over-the-top packaging; just simple black packaging will do. Hence, the Etude House Line Nuance Duo scores high marks in the packaging department! I also especially liked how the eyeshadow end is transparent so that the user can see what colour eyeshadow it is!

Eyeshadow end
Eyeshadow end:

Colour and pigmentation: A very subtle light coral colour with some degree of shimmer. It's great for everyday wear (if you have normally dry eyelids, I will talk about this in a while), however pigmentation's average. You can try building up the colour through multiple applications, but I don't think you can get much out of the product. 

Application and longevity: Applies rather smoothly and with no difficulty. However, this product is a nightmare for users with oily lids like me. After a mere 2 hours or so, the eyeshadow starts to crease and you can see the unsightly crease lines on my eyelids. Not glam AT ALL. It's such a pretty colour though. I will suggest applying this as a base, and then dusting some similarly-coloured eyeshadow over it. Not like it will help much, but at least we tried, huh? 

Eyeliner end

Eyeliner end:

Colour and pigmentation: It's a mix between taupe and dark brown, with a slight hint of shimmer. Pigmentation is below average for me because I prefer a dark eyeliner look. It's good for users who prefer an all-natural look though.

Application and longevity: The first application was a nightmare because the lead was so hard! Thank God I swatched it on my hand before I used it on my eyelid. After the first swatch, the eyeliner was much more "workable". The eyeliner is different from the eyeshadow in that it's more suitable for those with oily lids. It didn't smudge or crease, so it's an average eyeliner overall.

Swatches taken with camera flash
Will I buy it again? Sadly nope. Even though the eyeshadow colour is pretty and the when combined, you can achieve a fuss-free, all-natural look, the Etude House Line Nuance Duo does not perform well after a couple of hours.