Showing posts with label foundation. Show all posts

Thursday, April 9, 2015

Current Foundation Routine (Nivea, The Body Shop and klairs)

Having a camera with wifi function is amazing! I took these photos this morning before going to work and I was able to transfer the photos to my phone for quick editing on the MRT. Very efficient use of my commute time leh!

Here's an update to my foundation routine. I no longer apply liquid foundation on a daily basis because I think it's too much for my acne-prone skin.

Step 1: Apply Nivea Sun Whitening Light Texture Serum Make-up Base 
Step 2: Apply a mixture of The Body Shop Tea Tree Flawless BB Cream and klairs Illuminating Supple Blemish Cream
Step 3: Finish off with an application of  ZA Perfect Fit 2-Way Foundation with a powder brush (not in photo, but I have been using this ZA powder for more than 10 years already)


I bough the klairs Illuminating Supple Blemish Cream on Qoo10 for really cheap! It was on sale for S$10.80 with free normal shipping. 

I first read about it on this random blog that was raving about how light it was and how it didn't break her out despite her having acne-prone and sensitive skin. I was very intrigued because I had the same skin type as this blogger and I also faced the same problem of breaking out from using new BB creams. So after researching abit more, I decided to check out. 


I especially love the klairs Illuminating Supple Blemish Cream because it does not have a greyish undertone and because it applies like a moisturizer. No cakey feeling at all. The only problem was it was too fair for my skin. 

This problem was instantly fixed because when I noticed that it was too fair, I remembered that I had The Body Shop Tea Tree Flawless BB Cream in 02, which was too dark for my skin. YAY! Mixing these two together resulted in the perfect shade for my skin! 

The combination applies beautifully - almost like my daily moisturizer. I normally apply one layer like as if I'm applying moisturizer. Then I add a second layer on areas that needed a little bit more coverage (like under-eye area, blemishes, etc). I don't use any concealers after the second layer. I'll give it around 5 minutes to set then I top it off with a little of powder. 

Here's a before-and-after comparison:


First photo: No makeup at all. 
Second photo: Sunscreen and a mixture of the two BB creams applied. 
Third photo: Finished with the ZA powder 5 minutes later. 

Looks great right?! No concealer at all!! Very excellent lah these two products (and of course my forever holy grail powder foundation - ZA Perfect Fit 2-Way Foundation).

This way I can avoid wearing thick liquid foundations and cream concealers. Most of the item, a combination of these two products will clog my pores and then my good pimply friends will appear again zzzzz.

Have a great day guys! :) I'm loving this routine so much now!!


Tuesday, February 3, 2015

Current favourite foundation tip: Cushion puff + liquid foundation!

Recently, I have been obsessed with this foundation application technique. 

Etude House BB Cushion puff + my favourite Bourjois liquid foundation = natural looking makeup with enough coverage. 

So yes, I need to share this amazing application technique. 
My own photo from this post
This should work with BB Cushion Puffs from any of the Korean brands since they are all essentially the same thing.

After application, my skin looks dewy, healthy and almost flawless. Areas that are supposed to look highlighted are highlighted, redness and acne scars are sufficiently concealed. I love this application!

I realised the main selling point of these BB Cushions is definitely the puffs. It allows maximum coverage because you are applying in a patting motion and not in swiping motion. Moreover, these puffs are designed to absorb as little product as possible - this characteristic already makes puffs a better tool to use than regular sponges or the generic foundation brushes. I used to like applying liquid foundation with my fingers, but I had a brand that oxidised every single time I applied using my fingers, making my face look like a streaky mess. The BB Cushion puffs will fix this as well! When applying with such a puff, you are less likely to transfer your body heat to your skin - less chances for those oxidation-prone foundations to turn a couple of shades darker.

Talking about BB Cushions, I tried the Innisfree Long Wearing one for a week and oh my gosh it's so drying. I have a post coming up describing my unpleasant experience. :( But hor, I found the perfect solution to this too-drying problem. Wait up for the next post ah! :D

Can't wait for the weekends to come. Hurry hurry!! 

Monday, July 7, 2014

Review: Etude House Precious Mineral Any Cushion in Honey Beige W24

I'm such a laggard when it comes to trying out new cosmetic technology and innovation. I have heard of the various BB Cushions in the market but I have yet to try any...till now. At first, I thought this beauty invention was just a gimmick, but ah, I couldn't be more wrong. 

Paydays are my favourite days. Not only because they make me feel happy about the financial department, but also because the sudden surge in moolah pushes me to buy new products to try out, like this Etude House Precious Mineral Any Cushion. I bought it for S$20.50 on Qoo10

I'm a BB Cushion convert, and here's why...


There are 3 shades available on the Qoo10 site:

  • N02 Light Beige
  • W13 Natural Beige
  • W24 Honey Beige
As with most of South Korean foundation-type products, you have limited choice when it comes to finding the shade to match your skin. I bought the darkest one out of the lot (W24 Honey Beige) and I think it's still too light for me. 


Every single time I use the Etude House Precious Mineral Any Cushion, I will skip the sunscreen. It has SPF50+/PA++! I think that is a good number for a hot and humid weather like Singapore's.


Ingredients list


Packaging: A slightly hefty round compact that scores high marks in terms of product hygiene. There's a plastic separator between the puff and the cushion. The cushion is also sealed and you have to remove the safety seal before usage.


How to use: The application process is quite different, but it's not rocket science. You take the given puff and press the blue side on the cushion till you get the desired amount of product. Then you apply the puff on your face by either patting it on or spreading it all over the face. The application will have to depend on your skin condition and what you want out of the product. Relatively clear and smooth skin? Then spreading it all over is enough. If you have redness or acne to cover up, the pat the puff on the area - more coverage this way!

Usefulness of provided puff: It's marketed as the Collagen Air Puff and I understand why there's no "sponge" anywhere in the name. This puff doesn't absorb the product like a sponge! It picks up the cream and the cream will stay at the surface without getting absorbed. When you apply it on your face, you are applying what you dispensed out of the cushion. No wastage due to absorption! Also, the puff makes application a breeze. It also makes the cream look more even and smooth as compared to when you apply using your fingers.


Product consistency/texture: The Etude House Precious Mineral Any Cushion has a runnier consistency than the usual BB creams. I guess this slightly liquid consistency helps the puff pick up the cream better.


Application: As mentioned briefly above, application with the aid of the puff is a breeze. I don't know how they created the puff; it's amazing! Now I use it with my other liquid foundations too. First of all, the cream applies beautifully and evenly. The puff also ensures that the product is not just sitting on top of large pores and making them more obvious. With the puff, the Etude House Precious Mineral Any Cushion makes any large pores miraculously disappear. It's not an exaggeration - I have huge pores around my nose area and after using the puff with any of my liquid foundations, they are no longer as pronounced. I can't even see them anymore unless I go really close to the mirror.

Starting from the left:
1. Bare skin
2. One layer of Etude House Precious Mineral Any Cushion
3. Two layers of Etude House Precious Mineral Any Cushion
Coverage: The Etude House Precious Mineral Any Cushion has a medium coverage that's definitely buildable to a full coverage. As you can see from the photo above, one layer of Etude House Precious Mineral Any Cushion can cover most redness. Two layers can conceal the redness and acne better. Even after two layers, my skin doesn't look cakey or thick. It still looks like ... my skin... but better! For those with dry skin, you don't need the loose powder at all. This dries to a semi-matte finish. However, if you're like me and you have overworked sebaceous glands, then yes, loose powder is a must to finish things off.

Longevity: This lasted a good 3-4 hours before my skin looked like an oil spill occurred. I'm not complaining though because the product won't move when you blot. You don't get that irritating uneven patches on your face after the tissue/blotter picked up some product in the process. This will work VERY well for users with normal to combination skin. You will have dewy skin by the end of the day!

Will I buy it again? Wah I definitely will. It has high SPF and it has coverage that can rival liquid foundations. Moreover, the given puff is AMAZING. Of course will buy again lah. I hope Etude House provides more shades. So many people will love your product you know? Expand your target market!!

Hope this has been helpful! Have a great day guys! :)

Monday, June 30, 2014

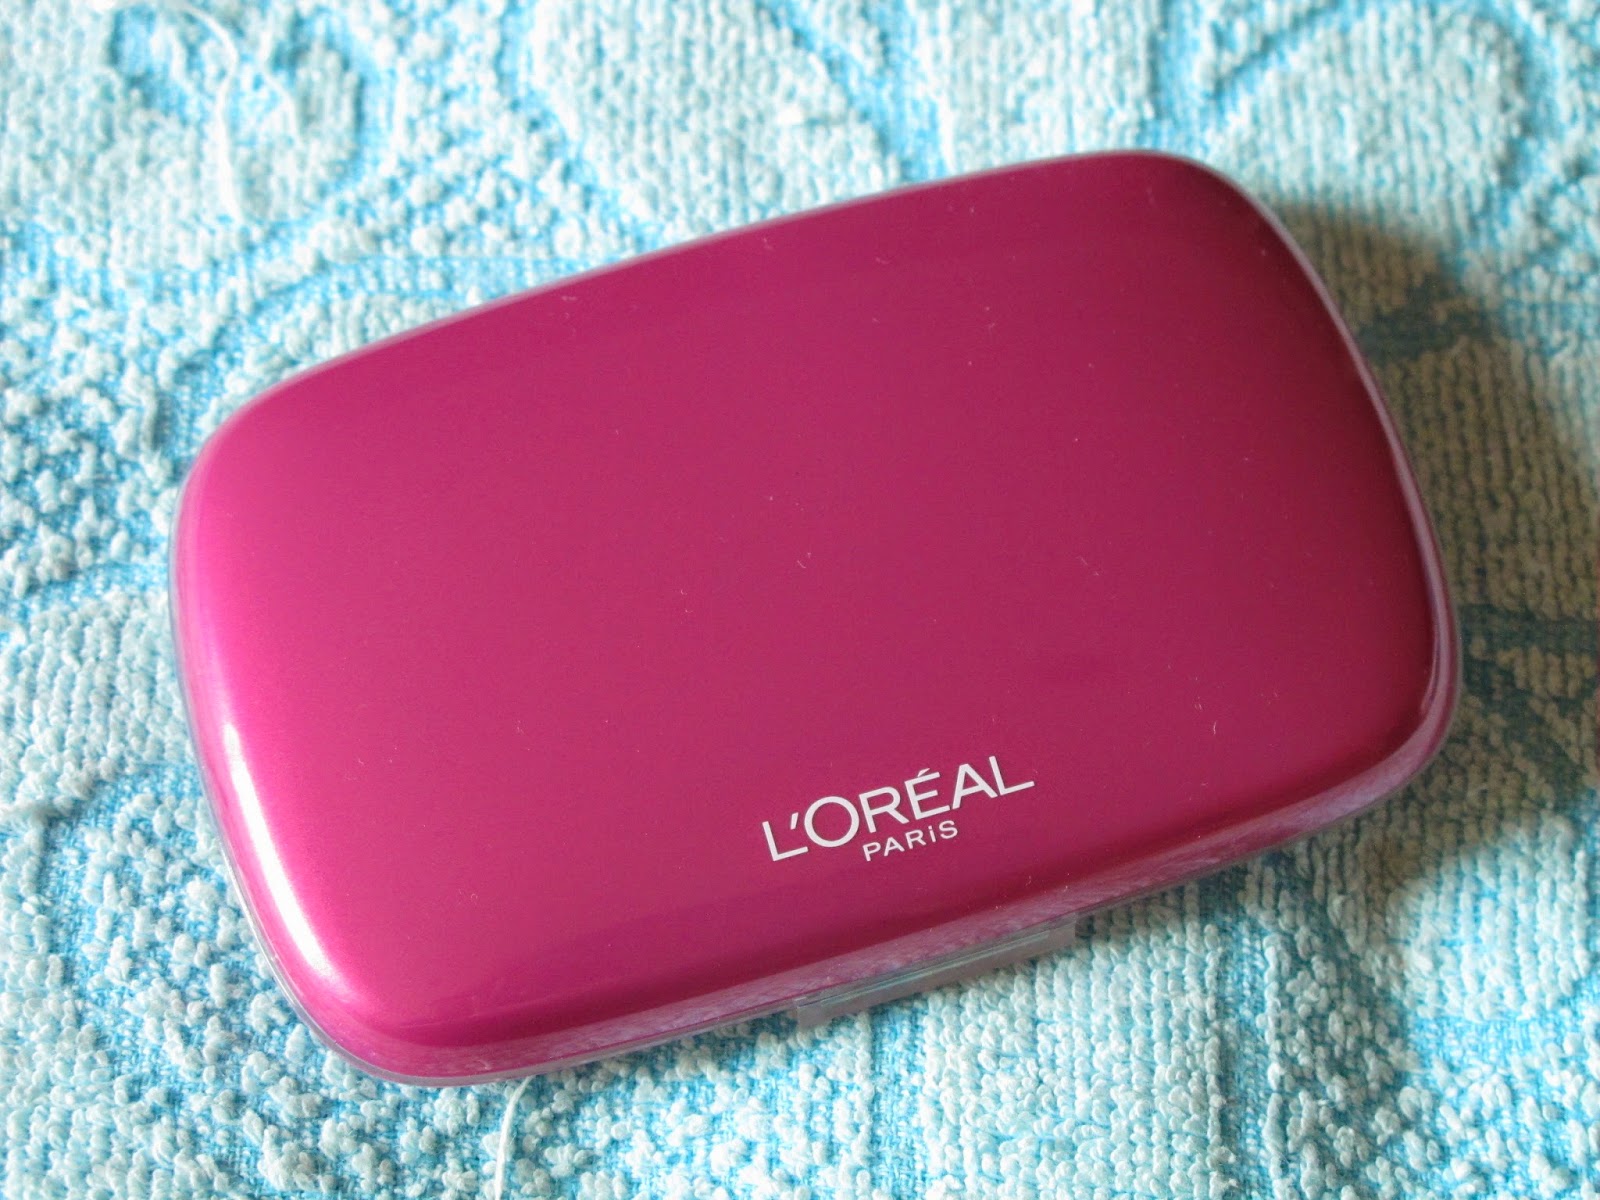
Review: L'oreal Mat Magique All-In-One Matte Transforming Powder

A rather exciting review post. I've been wanting to write about the L'oreal Mat Magique All-In-One Matte Transforming Powder because the first few applications were amazing, but I decided to test it out for a couple more weeks before I give you guys my feedback on this! 

L'oreal did a great job in disseminating information about their latest product online. They approached popular lifestyle bloggers and I got to know of this amazing product from these blogs. Good marketing plan, L'oreal! It's quite obvious that their plan worked hugely to their advantage because I had to visit 3 different Watsons before I could purchase the L'oreal Mat Magique All-In-One Matte Transforming Powder in my shade. 

My shade is N2 Nude Vanilla and this retails for S$30.90. Fortunately, I got this during a sale, so I paid less than S$25 for mine. 

The first thing that will catch your attention - OMG SO PINK?! 
If you absolutely detest pink, then this may not be the product that you want to have. Or maybe you can just buy, hide it at home and apply before going out because the product is quite stellar! 


The L'oreal Mat Magique All-In-One Matte Transforming Powder has a lot of oily-skin friendly claims:

  • Shine resistance of up to 12 hours
  • Powerful sebum absorbant
  • "Just-out-of-shower fresh finish and sensation" - Wahlao this one a bit pushing it haha
  • Poreless skin
  • Great for priming the skin 
  • Minimize appearance of imperfections
  • Ultra sensorial velvety soft touch
Those are a lot of huge claims. To be honest, the powder didn't work that miraculously on me. However, I still love it! For those with extremely oily skin, this powder will work for around 5-6 hours? 5-6 hours is only half the claimed 12 hours, but if you have EXTREMELY OILY skin, you will understand that 5-6 hours of relatively shine-free skin is like a miracle. 

To give you an example - if I don't include this powder in my makeup routine, my skin will get oily once I step into office; that's like 2 hours after application. Sigh~~ 


Ingredient List


Packaging: Pink, pink, PINK! Thank goodness the interior of this product is not pink. Phew. I'm not a pink fan but for the amazing product, I'm willing to shelf my negative feelings for the colour. This contains 6.5g of product, which is significantly less than what I'm used to. I have been using the ZA Two-Way Foundation since secondary school (10 years already!!!) and that has 9g of powder.


Colour: N2 Nude Vanilla is a little too pale for me. I normally use OC10 for ZA Two-Way Foundation. I don't use this powder on its own so it's not such a huge problem.


From left to right:
1. Bare skin
2. One swipe of L'oreal Mat Magique All-In-One Matte Transforming Powder (no concealer)
2. Two swipes of L'oreal Mat Magique All-In-One Matte Transforming Powder (no concealer)
Application: On its own, the L'oreal Mat Magique All-In-One Matte Transforming Powder can be quite drying, especially if you have dry skin. The powder applies smoothly and the provided sponge applicator is quite useful in providing a dense application. There's a tendency for the powder to cake up after the second application, so I will recommend you to stop at one application. Two applications maximum if you have more blemishes to conceal.

For those with more problematic skin, the L'oreal Mat Magique All-In-One Matte Transforming Powder can be used as a finishing powder after your usual BB Cream/Liquid Foundation and concealer routine. Use a less dense, face brush and you will get the perfect look. A dense brush will cake up your face and that is not the look that we should desire for!

Mattifying? Oh yes, definitely. I had relatively matte skin 5 hours after application and I was so impressed! No other powder has lasted me more than 2-3 hours in the oil-control department so this is amazing! If you have normal-combination skin, the mattifying effect would probably last longer on you.

Concealing? For those blessed with few imperfections, this powder is good enough be used on its own. You won't even need concealing because it covers redness quite well. However, if you have a lot of acne scars, pimples and all those face demons, then this will be better as a finishing powder.

Touching up: After using this for more than 2 weeks, I have come to realise that I have to blot thoroughly before any touch-ups. If not, there will be powder coagulated at the oily parts and that's nasty. Hence, quick tip for touch-ups: blot and make sure there are no shiny parts before touching up!

Will I buy it again? As of now, this is the best mattifying powder that I have ever tried. 5-6 hours of mattifying and shine-free effect may not be ideal for some of you, but for an oily mess like me, it's more than sufficient and frankly, quite a miracle. Also, this didn't break me out (halelujah!!). Hence, yes, I will buy this again!

Hopefully this has been useful! Have a great day ahead guys! :)

Thursday, February 13, 2014

Current favourite foundation (Holy grail!!): Bourjois Healthy Mix Foundation


I'm quite dumb. I loved this liquid foundation so much, I kept using it daily and now the glass bottle is really dirty and I only have around 30% of the liquid foundation left - so I cannot bear to take photographs and post them on my blog. Yikes. The photos provided by Bourjois itself shall suffice then (sorry guys!!).

The Bourjois Healthy Mix Foundation has reached "holy grail" status in my books. I have been using it every single day since I bought it and I'm running out!! The worrisome side of me keeps wanting to order 5 more as backups, JUST IN CASE. What if they discontinue this glass bottle of enchanting liquid? CHOI TOUCH WOOD.

I purchased mine from ASOS.com (link) for less than S$15 because there was a 30% off cosmetic products some time back. Even without the discount, it's less than S$20. If you go to Watsons, BHG or other local stores that stock Bourjois, this will definitely cost you more than S$30 (I think it's S$34.90 or some ridiculously exorbitant price-tag). If you want to try this foundation out, I will suggest you order from ASOS.com - free worldwide shipping + will cost you half the Singapore retail price (DAYLIGHT ROBBERY).

Time to zoom in to the reasons why I love this foundation so much.

  1. Oily-skin compatible - this foundation is great for those with oily skin. I have severely oily skin, especially around the nose and forehead. When I have the Healthy Mix Foundation applied, my skin still gets oily but not as much as before. Usually, I will need to blot at 11am (I usually apply at 8am), then another time at 3pm. With this foundation, I only blot once at 4-5pm, and touch up with some loose powder and I'm good to go! 
  2. Acne prone-skin compatible - Sadly, my acne prone skin is still giving me a headache. I'm scared to try new face products because I'm scared of the potential breakouts that I may get. This liquid foundation didn't break me out AT ALL. Very very good!! 
  3. Medium coverage - The Bourjois Healthy Mix Foundation is not a full-coverage foundation. It has a medium coverage and it will not be able to cover huge pimples. However, I personally prefer this medium coverage because I don't want to feel cakey all over my face. Some liquid foundations have a coverage so strong and thick that you feel like you're wearing a mask. This one feels lightweight and breathable. You can just cover your blemishes with a good concealer, no biggie!
  4. Blendability - This is one of the main reasons why I love this liquid foundation so much. It's SOOOO blendable! If you use a foundation brush, it's blendable. If you use your fingers, it's blendable. So easy to work with! No unglam patches and uneven pigmentation. It's also a breeze to build up the layers. 
  5. Long-lasting - No joke. It lasted for more than 12 hours. My face needed blotting at the end of 12 hours but I still looked okay without a touch-up. 
  6. "Younger-looking skin" - I don't know how factual this is, but quite nice to know that the Bourjois Healthy Mix Foundation will give you a younger-looking skin look. HAHA. 

ARGH, I NEED TO BUY MORE!!! I think I will run out in another 2 weeks' time. Complete disaster. 

Hope you enjoyed this quick review (with a lack of photos, sorry!). Have a great day!! 

Thursday, January 23, 2014

Highly Raved Drugstore Foundations (Revlon, Neutrogena and CoverGirl)


Yes, I want them all. It has been a known fact to close friends and family that I will not step out of my house without some form of blemish-concealing on my face. As tiring and high-maintenance as it sounds, I only spend a couple of minutes on this daily, so it's not that tedious lah.

Now that my acne freakout (yes, I'd rather call it a freakout than a breakout because I truly freaked and sobbed) is somewhat under control, I'm starting to experiment with liquid foundations again. But, I'm not as adventurous this time round. My focus will be oil-free, liquid foundations that are formulated specially for or suitable for oily/acne-prone skin. Exciting huh?

There are sooooooo many that I want to possess but I don't have all the money in the world, so self-control is needed. Drugstore liquid foundations!

I read quite a number of beauty blogs and subscribe to lots of beauty youtubers, and the 3 most raved about drugstore foundations have been these 3. I really want them all!!

  1. CoverGirl Outlast Stay Fabulous 3-in-1 Foundation
  2. Neutrogena SkinClearing Oil-Free Liquid Makeup
  3. Revlon ColorStay for Combination/Oily Skin
I know the Revlon one has been around for eons but it's so expensive in Singapore?! I'd rather join a Drugstore.com spree - so much cheaper! 

What's your favourite drugstore liquid foundation? 

This site claims no credit for any images posted on this site unless otherwise noted. Images on this site are copyright to its respectful owners and the person/entity who created the photos. Images shown on this site are not for sale or for any other commercial purpose - all images are for site presentation purpose only. If there is an image appearing on this site that belongs to you and you do not wish for it appear on this site, please email with a link to said image and it will be promptly removed.

Friday, January 3, 2014

2014 Beauty Wants


I really want to try out more high-end liquid foundations. Especially those with full coverage ones! MONEY, FALL FROM THE SKY NOW! 

This site claims no credit for any images posted on this site unless otherwise noted. Images on this site are copyright to its respectful owners and the person/entity who created the photos. Images shown on this site are not for sale or for any other commercial purpose - all images are for site presentation purpose only. If there is an image appearing on this site that belongs to you and you do not wish for it appear on this site, please email with a link to said image and it will be promptly removed.

Thursday, October 31, 2013

ASOS beauty haul - tiny but I'm so excited!!

ASOS had a beauty sale last week and OF COURSE I HAD TO GET SOMETHING. In this case, I got some things (LOL). I think it was a 30% sale? I really wanted to try liquid foundations from Bourjois and Rimmel and I had to stock up on my Rimmel Pressed Powder! 

I heard SO MANY positive reviews about the Bourjois Healthy Mix Foundation and thank you ASOS for this sale! I bought it at S$14.83 (original price S$22.79). It would have cost much more in Singapore. CONFIRM. 


My Rimmel London Stay Matte Pressed Powder is down to the last bits and I'm so sad, so yay for the sale. Grabbed the opportunity and got my new powder for only S$5.70 (original price S$9.10)!


Finally, I also bought the Rimmel London Wake Me Up Foundation for S$13.69 (original price S$20.51) just because the description of the product intrigued me - "...inbuilt SPF 15 has an anti-fatigue effect with pearlescent properties for an illuminating complexion, concealing imperfections while masking under eye shadows for a flawless finish" Like that confirm buy lah!


Can't wait for them to arrive!! :) Yay new makeup! I always love new makeup!! Okay I need to reorganise my cosmetic cupboard!!

Thursday, March 28, 2013

Watsons Members Sale Haul (27 March 2013)

When I found out that there was going to be another Members Sale at Watsons on 27 March 2013, I had to plan on what I needed straight away. For one, I had to stock up on some necessities. However, the bigger motivator was the fact that that day was also the day when all the YR4s submitted their Final Year Projects. I felt like I had to reward myself! :D 

So yes, I went with Huiling, my fellow Watsons sale maniac, and we got ourselves some pretty good deals! 

Both of us managed to be the first 100 to spend over S$30 in a single receipt too, so we both received early bird gift packs! 

I  only bought four items, the rest were included in the gift pack! YAY! 


First up, I needed to stock up on my ZA two-way foundation. This has been my go-to foundation since my secondary school days and it is still my holy-grail foundation. The set was going for 2 for S$50, so now I have 4 refills! :)


This set of KATE gel eyeshadows retailed for S$9.90. I'm a sucker for brown/neutral eye shadow colours so I just grabbed this. A review on these will be up soon!


Also had to pick up a couple of the Bio-essence BIO Spring Water. They are amazing for setting your make-up, especially when you don't want to look too cakey and made up! They were S$1.45 each (!!!) because there was an additional discount for cardholders!


My final purchase was the Maybelline Magnum Volum' Express Cat Eyes Mascara. Wanted this previously but it was too pricey. During the sale, the mascara retailed for S$14.90! SCORE! :)

I will review this soon too!


I generally get really excited whenever Watsons holds a Members-exclusive sale. However, I think I will stick to going to the branch at Bukit Panjang Plaza in the future! Less crowded and less messy!

THANK YOU WATSONS! :)

Wednesday, February 6, 2013

New Foundation Routine: Laura Mercier Tinted Moisturiser + Benefit That Gal Brightening Face Primer

I'm so excited to write this post because the mentioned products have worked so well for me! It's a new foundation routine, and I can't wait to share it with you guys!

I used to slap a thick layer of liquid foundation in the past, but I don't think my skin can take on a daily basis anymore. I even shun BB Creams now because of the amount of wax they use inside! I read some post on the alleged over-usage of wax, but I'm not very sure of the truth in it. BB Creams just don't work on my skin lah, they break me out. :( 

Hence, I turn to tinted moisturisers! I grabbed a Laura Mercier Tinted Moisturiser sample when I stopped by its counter and it is BEYOND amazing. I love it so so so so very much! I'm now highly inclined to buy the oil-free formula one! The full-sized product cost S$68 but IT WILL BE AMAZING, so I'm gonna get it soon! 

I coupled the Laura Mercier Tinted Moisturiser with Benefit's That Gal Brightening Face Primer, and the final look was AW-YEAH! 

Naturally, I have to use a concealer to cover up my acne scars, but I have been using the same one for months, so I'm skipping it out of this post! 

PHOTOS TIME. 


Laura Mercier's Tinted Moisturiser is extremely lightweight, but that does not mean that it has no coverage. Surprisingly, it provides a light-medium coverage (depending on how many layers you apply). Also, the tinted moisturiser does not leave a tacky feeling on your skin. The most important thing is there's no unnecessary floral fragrance!

Benefit's That Gal is a really gorgeous face primer. It applies beautifully and does not make your skin look like a 1000-watt lightbulb. I don't know how Benefit does its formulation, but it seems like the appropriate places are mattified, while the raised places (nose bridge, upper cheek bones, etc) are highlighted. Either the product is created by a genius, or I am a genius during application. :P


I usually will mix the two products together on my fingertips and then apply it straight on my face. No brush whatsoever, because I don't like to apply liquid stuff using a brush (my logic is, if you use a foundation brush, you have to wash it right after using if not it's eeky and it's a bacteria heaven, so I'd rather not waste my time while I'm rushing). Using your fingers actually works a little bit better because your body temperature will warm the products ever so slightly - helps with blending!

Initially, the products will seem too watery.  But after a few massage circles, everything's absorbed and fabulous!


LIKE THIS! Don't see the difference yet right? Let me compare it with my bare hands. 

After application

Above is an AFTER photo, and below is a BEFORE photo.

Notice how there's a slight shine after application, and the red areas are not as obvious? AMAZING.

Before application

The plan is, I shall be an amazing granddaughter, niece, cousin, grandniece in Indonesia so I can collect more angbaos, and so I can pay my debts and BUY THE LAURA MERCIER TINTED MOISTURISER!!

:D

Saturday, November 3, 2012

Free Sample: Estee Lauder Double Wear Stay-in-Place Makeup


Redeem your Estee Lauder Double Wear Stay-in-Place Makeup now! :)

Here's how:
1. Like Estee Lauder Singapore facebook page
2. Click the following link: https://www.facebook.com/EsteeLauderSG/app_295673160537757
3. Allow the app to access your friend list
4. Fill in your particulars (+ where you want to collect the 1-week supply from)
5. Wait for the email! :)

Hurry and get yours, especially those with skin troubles because this foundation is oil-free, dermatologist-tested, non-acnegenic and fragrance-free!

Sunday, October 28, 2012

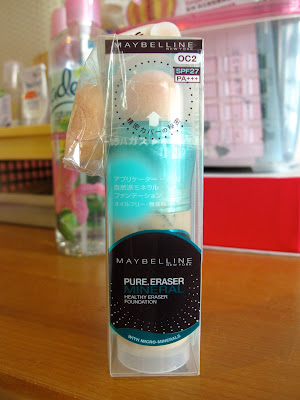
(Holy Grail Product) Review: Maybelline Pure Eraser Mineral Healthy Eraser Foundation

Ever since the beginning of the year, I needed a new liquid foundation. However, I hesitated when new ones were introduced to the market because I didn't want to spend my money on something that would probably break me out. So I relied on my Missha BB Cream and waited for the right one to be launched. 

The thing about BB Creams is that they are great, but not so great for unfortunate users with blemishes and acne-prone skin because the coverage is not that fantastic. Hence, I was piling up the concealer whenever I used BB Creams, which of course made my blemishes even more prominent. 

Then this magical foundation from Maybelline was launched. I watched the advertisement on TV and I was immediately sold. The Maybelline Pure Eraser Mineral Healthy Eraser Foundation is not a cheap foundation, especially for a drugstore one. It retails at S$27.90 at Watsons nationwide (or anywhere with a Maybelline counter). I do admit it's a hefty price tag for a Maybelline product. 

Any Malaysian/Indonesian readers here who knows if this foundation can be found in Malaysia/Indonesia? If yes, I'll definitely purchase my back-ups there! 


The number one feature that caught my attention was the packaging and the applicator. The Maybelline Pure Eraser Mineral Healthy Eraser Foundation is no ordinary foundation! It's a tube of product with a sponge-tip applicator at the top. Extremely innovative. You may wonder if it's hygienic to use a sponge-tip applicator for a liquid foundation. Luckily, Maybelline attached a non-bacterial sponge for this foundation. So yay, users can use this with less worry! 


The foundation promises:
  • buildable coverage (thin layers of product can be layered according to one's own fancy without masking the face!)
  • velvety finish (not matte, so it's not so harsh and you don't look obviously made up)
  • refreshing & light (nobody likes the cakey feeling, eh?)
  • moisturizing feel 


Ingredients list


I don't know what's up with this usage of white text. I can't even get it to appear on photos! =_=

So here are the instructions:
  1. For first time usage, turn the top for 10-20 times to dispense the foundation out. 
  2. Apply the foundation directly onto your cheeks, forehead, nose and chin using the sponge applicator.
  3. For subsequent usage, turn the top 1-2 times to dispense product. 
TIP:
To wash the sponge, gently pull the sponge tip out and wash under running water. When completely dry, put the sponge back. 


It comes with an additional sponge applicator too, so yay! 


Packaging: I love, love, LOVE the sponge applicator. This gives CONTROL a whole new definition. With usual foundations, you tend to pump out too much, and then you find yourselves in a dilemma of whether you want to use up all the foundation that you have pumped out, or waste it. Most of the time, I will choose the former, and I will end up looking like a walking theatrical mess. With this innovative applicator, I really can control the amount that I want to use on my face, and it's never too much! You dab the sponge on your face, you blend the foundation out, if you need more, you dab some more! You'll never ever ever use too much foundation with this product! AMAZING. 


Every time you turn the top, only a little bit of the product will be dispensed and it will be dispersed over the sponge. I really am digging this foundation, and I have been using it everyday and loving it every single day. 

3 dabs on the back of my hand. 

Foundation blended out
Coverage: This is a medium-heavy coverage foundation, perhaps verging on the heavy side. It's definitely more heavy-duty than your BB creams and I need much less concealer for my blemishes! 

Moisturizing: It's not greasy moisturizing, but just the correct amount of moisturizing. Especially good for oily skin actually because it gives you your needed amount of hydration without making you look like you just deep fried yourself a few hours later. 

Longevity: I used this foundation for a day out in Sentosa and then a Halloween night at Universal Studios Singapore. A total of 12 hours, and the foundation didn't budge, ARE YOU KIDDING ME?1 GREAT FOUNDATION! 

I didn't really take close-up photos of the foundation on my skin (sorry!), but here are some photos that perhaps will show you how amazing the Maybelline Pure Eraser Mineral Healthy Eraser Foundation is. :) 


This one's after about 10 hours. Still looking good! :)

Will I buy it again? I'm going to treat this foundation like an item that I will need during a war. STOCKING UP TIME. 

It's really a great liquid foundation for users with acne-prone skin and blemishes, go get them ALL (but leave some for me please).

Good job, Maybelline!